

It's my prom tomorrow (which I'm SUPER excited about!) and I'm doing all of my beauty related things myself! I'm doing my nails, hair and make-up myself and I hope they all go well! For my nails I decided to go for a colour that matched my dress, but I still wanted a kind of manicure. So I added a black tip and bingo! Just what I wanted! Keep on reading to find out how I created these; they're super easy and can be altered to match any dress!
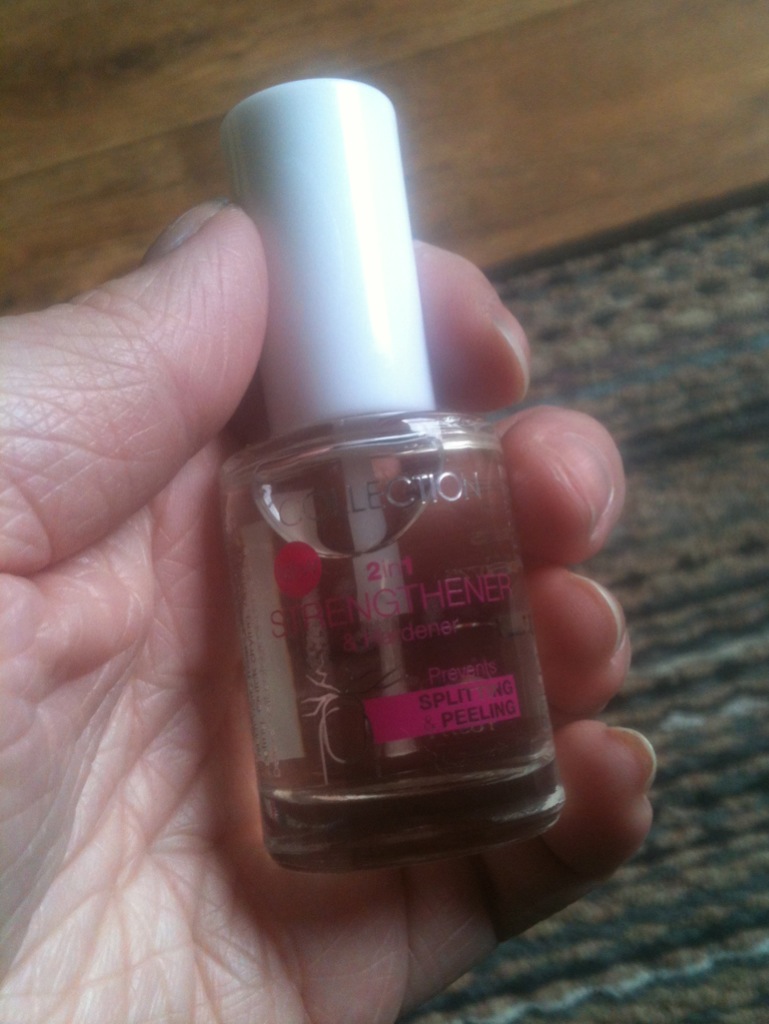
 So I started out by applying a base coat so my design lasted longer and to make sure the polish didn't stain my nails. (I heard the colour I used stains really bad!) I used my Collection 2 in 1 Nail Strengthener and Hardener as my nails chip really easily and I wanted to make sure they lasted.
 After I waited for the base to dry, I applied 2 coats of Sinful Colors' 'Kissy' as this colour matches my dress so well! I applied the first coat, waited for that to dry and then applied the second. For me, 1 coat was too sheer but it may be nice for a more subtle nail. I wanted mine bold however and this polish only took 2 coats to become completely opaque! I absolutely love it!
 Again I waited for that layer of polish to dry before starting the next stage. using Barry M's 'Black' carefully painted on a tip just by putting the brush to my nail and slowly rotating my nail. I then switched the angle I was holding the brush at to make the other side even. After that, I slowly just dabbed on polish to help neaten up the tip and make sure it was straight!
  When I made sure all my tips were neat and roughly the same width I waited for them to dry and then added a top coat to make sure my design lasted even longer and to smooth out the nail! I used a cheap branded polish that I've had for ages and I'm not sure what it is.
 Once I'd applied my top coat it was time to clean up any messy edges! I dipped a cotton bud into some polish remover and carefully rubbed away all the polish that had gotten onto my skin. I took it down the side of my nail just to remove it from the sides.
And that's it! My prom nails are finished and I'm really happy with the results! I can't wait to wear them with my dress and actually attend prom! I'm so excited but worried at the same time just in case I slip over or something! I will put a post or video up soon with pictures from the prom and pictures of my make-up, hair and nails together to give people some inspiration! I hope this tutorial was easy and if anyone tries this please leave me a comment telling me how it went! Thanks for reading and be sure to check out my YouTube channel. Darkeowl's YouTube Channel.

No comments:
Post a Comment